The Morrison Spring Cavern Project

Please register or login

Welcome to ScubaBoard, the world's largest scuba diving community. Registration is not required to read the forums, but we encourage you to join. Joining has its benefits and enables you to participate in the discussions.

Benefits of registering include

  • Ability to post and comment on topics and discussions.
  • A Free photo gallery to share your dive photos with the world.
  • You can make this box go away

Joining is quick and easy. Log in or Register now!

I just wanted a nice picture for all of us to enjoy....BUT, in this day and age you are correct...we need to cover our bases. Not sure how all the copyright stuff works out, but your idea sounds good to me. Maybe you could type this up and on the day of the shoot everyone who participates will sign a copy, and everyone will also receive a copy to keep. To bad Kira isn't still around...she could put her legal mind to it!

I was thinking about the end product of our project and the subject of copyright and use of the images came to mind. This can be a sticky area that could hurt some feelings. This is what I propose that we agree to:
 
WOW, a Pana shot.... Hummmmm.... I do them OFTEN. I sue PhotoShop Creative Suite (PS CS) and the Panorama option in it is outstanding!!! I am in Jacksonville right now and all my Pix that I stitched together are back in Pensacola.

A thing to know about Pana shots that I have found are that with a Pana shot you are often not trying to get any kind of great detail out of the shot and you often lose your permiters at the end when you crop the pix to be square and clean.

For the Camera Man.....what I do is take the Camera on the tripod, IF you are using one, and while looking in the viewfinder (LCD on the back) just pan the camera slowly from one end to the other of where you want to photograph. this will give you and idea of the area you are gonig to shoot and where MOST of the "subject" will be.

As you shot each frame, Note where the horzion line is on EACH side of the LCD and as you shoot each pix, use that point on the LCD side to line up your next shot and you should always have over lapping parts in each frame. the more overlap you have with EACH frame the better.

If the shoot will be on a weekend I'll be better able to help out and provide assitance from outside of the cave. MY hobby is playing with all the pix I take from my adventures around Florida.
 
For most panorama's you'll want to keep the shot level, which may not be the ideal orientation for the camera to sit in order to get the majority of the camera cavern into view on a single frame. This is especially important with lenses that have any distorted wide ends, SY's 14-54 or my 11-22 are both very good quality lenses with little to no distortion on the wide(or tight) ends.
 
For most panorama's you'll want to keep the shot level, which may not be the ideal orientation for the camera to sit in order to get the majority of the camera cavern into view on a single frame. This is especially important with lenses that have any distorted wide ends, SY's 14-54 or my 11-22 are both very good quality lenses with little to no distortion on the wide(or tight) ends.

I think I can work with vertical stitching as well as horizontally. I don't think the program does it automatically but I may be able to do it manually. This might give us more coverage of the entire cavern.
 
Just got back from our test dive in the cavern at Vortex. We used Yoda's camera and got some promising results. I am going to let Yoda post the pictures and talk about the settings he used on his camera. I will post some thoughts on the process and the lights used. We had some challenges with getting the camera stable...but all in all we were both happy with the results of the first test.

Will post more soon....
 
To start with - NOTE TO SELF ... Do not make camera bracket that is stronger than tripod :no::D . The old tripod I used was plastic and weak. It did not make it to the first picture :rofl3:. The bracket to hold the housing to the tripod worked perfectly.
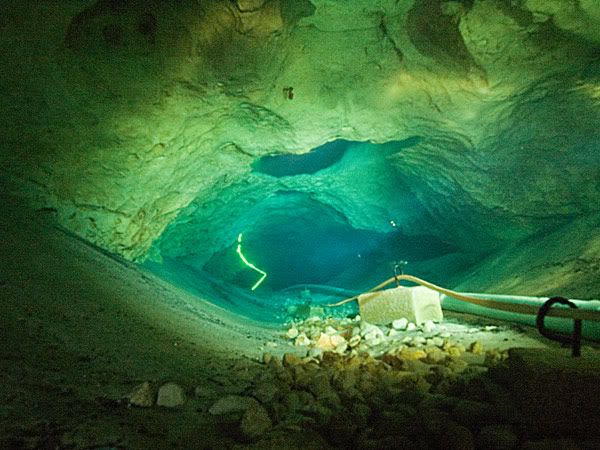
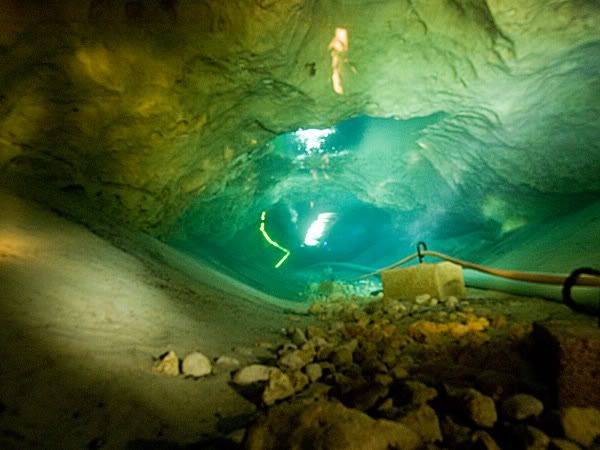
With the extended shutter time and time for noise reduction processing, at 65ish feet you only get about 5 shots on a dive. Best to make several dives on the day of the real Morrison project. I would leave the equipment in place between dives to save on some time.

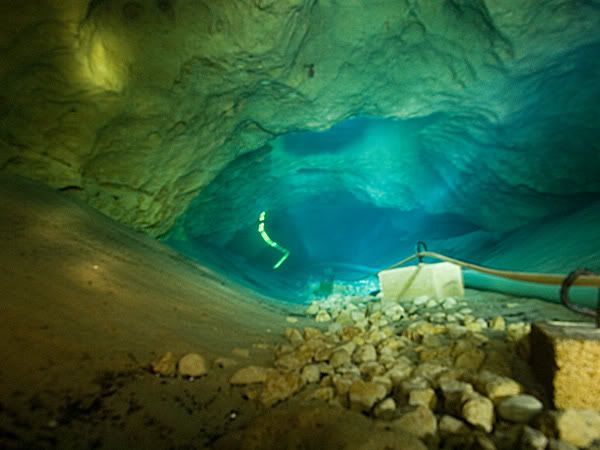
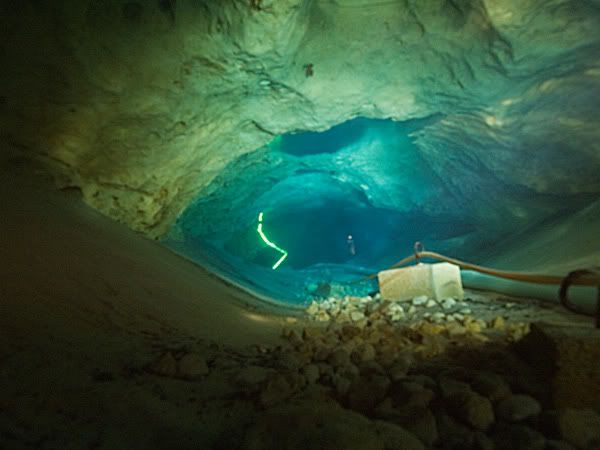
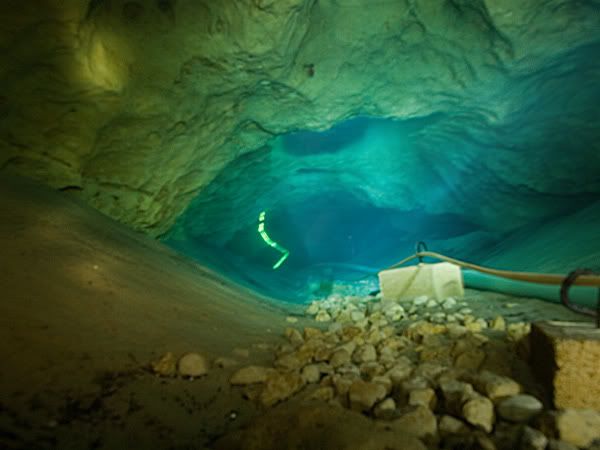
I had the focus set at infinity and the zoom as wide as it goes. The first picture below is at 60 seconds f13. It was a little dark so the next three pics the aperture was set at f8. The last pic is a composite of pictures 2, 3, and 4.

vc4.jpg

vc3.jpg

vc2.jpg

vc11.jpg

vcc.jpg


The best lighting technique proved to be a slow swim flashing the lights wildly all around. We still got a couple hot spots. The pics are a little grainy and I can't figure out why they are not sharper than they are. I'll be doing some research to see what can help (if anything) these two issues. The composite brings out much more detail than any of the three pictures on their own. I'm pretty happy with the results all-in-all.
 
We made two dives at Vortex. Our first dive we hit the water at 3:30 PM. We did a 45 minute dive with a max depth of 70 feet. Our second dive was a 34 minute dive with a max depth of 72 feet. The depths at Morrison will limit how many pictures we are able to take each time. We found that time went by very quickly while we were taking pictures, adjusting lights, etc.

The light line that you see in the back of the pictures are not our lights…they are the rope lights that run to the cave. Obviously, we won’t have to worry about those lights when we are at Morrison. As Yoda said, the best success we had with lighting was taking our lights and quickly painting the walls and ceilings with light. When we do the Morrison cavern, a couple of can lights will be essential to really get the amount of light we need.

After our last dive we got out of our cold wet suits and headed over to Sally’s for a good meal and to review our results. We brought my laptop in and downloaded the pictures to my computer. I processed a few pictures and got the same result that Yoda did. It was a good time finally getting to put our ideas to the test.

I will post a few surface shots in a few minutes.
 
https://www.shearwater.com/products/swift/

Back
Top Bottom