IDA-71 Homebuild

Please register or login

Welcome to ScubaBoard, the world's largest scuba diving community. Registration is not required to read the forums, but we encourage you to join. Joining has its benefits and enables you to participate in the discussions.

Benefits of registering include

  • Ability to post and comment on topics and discussions.
  • A Free photo gallery to share your dive photos with the world.
  • You can make this box go away

Joining is quick and easy. Log in or Register now!

I`ve read them but I dont like the idea of rebuilding everything, I want to try and keep it as original as possible but yeah, now I`m still changing out things but then im trying to keep to the same era and russian. No electrics more then must add is 2 oxygauges, but I finde it hard to finde a complete set with sensorhouse, penetrator and gauge.

My idea with the rebreather isnt to go further then 40, max 50m and turn... but mainly be around shallow deeps like 10m and sometimes 20m and to be silenced, one with the ocean.

Also the technics are cool, thats the main reason im restoring this IDA-71.
Hi
We are just some people behind a keyboard and we cannot really rely on each other.
But my understanding of your writing is that it looks there are some gaps in the understanding of the way a rb works.
If I were you, I will seize the opportunity that Snusmumrik is giving you.
 
Hi
We are just some people behind a keyboard and we cannot really rely on each other.
But my understanding of your writing is that it looks there are some gaps in the understanding of the way a rb works.
If I were you, I will seize the opportunity that Snusmumrik is giving you.
Hello,

Well im not an expert of rebreathers but the princip of how they work is clear. What`s technicaly behinde it is stil in the beginning stadium.

I work with commercial diving system at daily bases.

Agree I am taking the opportunity Snusmumrik is giving me, later I will update here on my built. :)


There will be a full description of what i've done. In big I only rebuilt the piping.

Yesterday i had a successfull dive, 30min, shallow but no symptoms of co2 poisoning or anything else. Hehe

Will adjust some things and then I'll go for some depth and see if i can trust it. ;)
 
Alright, so what have i done? Well, lets begin from the beginning.

Cylinders, you need something to breath so it comes naturally to check the cylinders. Plan was to use original bottles but I got one 2L bottle with W19,2 thread, same as the original so I changed valves.
I`ve inspected them internally and o2 cleaned them, also serviced(UltrasonicCleaning and changing out all softparts) the valve/1stage.
To be able to use it as SCR I needed to set the intermediate pressure to be in the ratio 1:2. Witch means that the LP must be 2-times higher then the Absolute Pressure, so I decided to draw the limit at 50m (6bar). LP set to 12bar and the membrane side was capt, isolated from outside pressure. For more info read about Constant Mass Flow.

20240505_152745.jpg
O2 bottle valve diaphragm.jpg
20240902_212450.jpg

Wen the bottles where done, i moved on to the Counter Lung.
Did a leak check and found the internal hoses for exhaust air had dry cracks, so I took it all apart.
Rinsed the bag itself, inspected/tested ADV and OPV(set to comfortable release pressure).
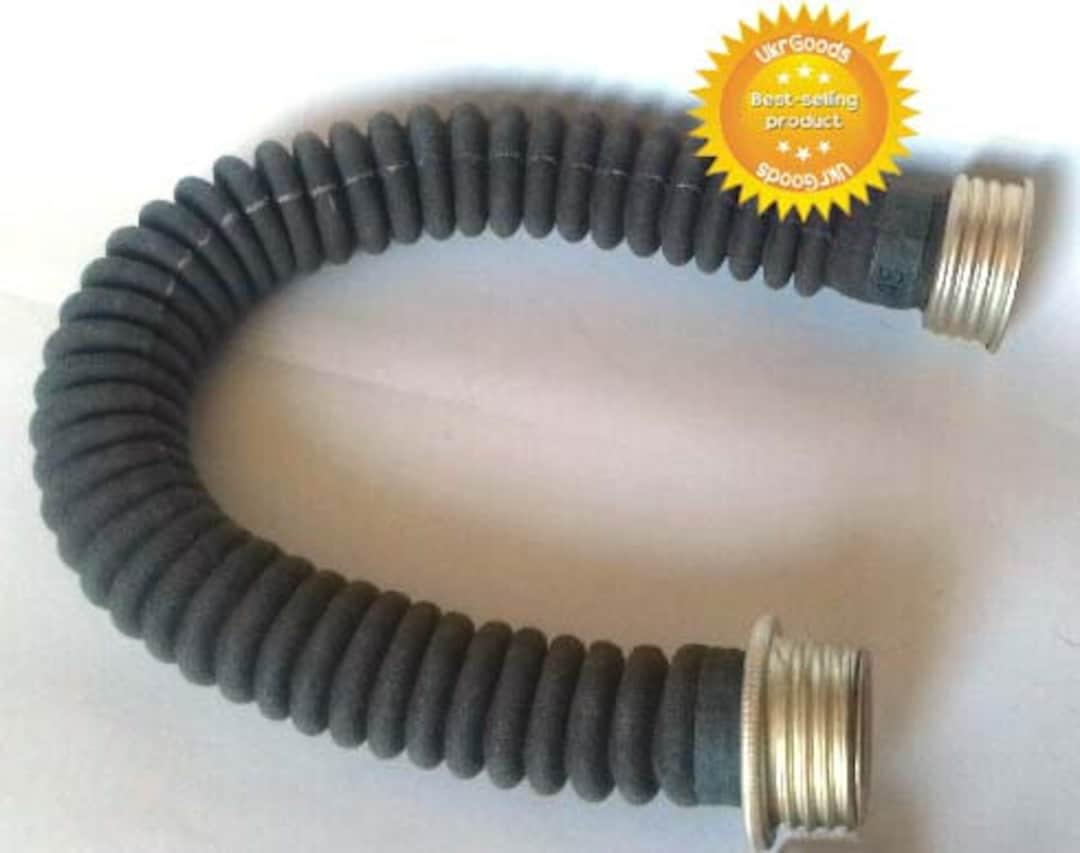
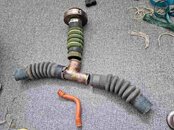
Had some problem to fine original parts so i decided to go for a short corrugated hose and remove the t-piece, Witch led to plug the 2 left ports and remove the orange hose.
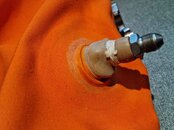
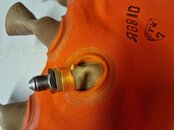
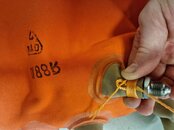
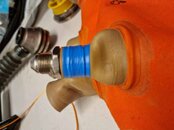
When putting it all back i used a rubber glue and garn, the glue was used with causes to not get any glue inside the CL. Pictures showing before.

20240616_173737.jpg
20240616_174705.jpg
 
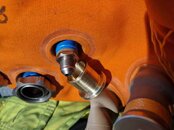
T-piece removed and replaced with one hose. All ports are secured like the picture. Rope is polypropylene and then normal electric tape.
Last picture you can see one of the plugs I made instead of the left scrubber ports.
They were made just from some scrap pieces of brass.
 

Attachments

  • 20240712_090114.jpg
    20240712_090114.jpg
    72.9 KB · Views: 34
  • 20240712_085749.jpg
    20240712_085749.jpg
    77.6 KB · Views: 33
  • 20240621_133544.jpg
    20240621_133544.jpg
    177.6 KB · Views: 29
  • 20240712_090812.jpg
    20240712_090812.jpg
    60.7 KB · Views: 30
  • 20240815_184325.jpg
    20240815_184325.jpg
    94.2 KB · Views: 32
Anyway, pictures will come somehow.

Back to business.
When the CL was done I need to figure out something with the piping. I need a CMF. So by using parts available for me i decided to use a flowmeter as a CMF and for the piping i used 8mm copper tubing, the valve block is from a AGK bottle from IDA59. I thought it was perfect, due to the possibility to connect an extra bottle so I got 660L of gas(2L bottle plus 1.3L org Alu bottle). Also if I want to make a short dive I can just disconnect the original one and install the original O2 bottle, with air and DIN valve from the 2L bottle for my dry suit, for exampel.
Piping is as follows: 2L bottle, LP out has a quick disconnect(commonly used on BIBS in pressure chambers) connected to the valve block, hose are specially made, from there the air will flow to the ADV(Right side) witch will automatically keep the volume in the bag. On the left side it will go through the flowmeter witch I set the flow at the surface, the flow will depend on depth and gas mix. If needed I have one port left where i connect the extra bottle and the the block also contains an OPV. Hopefully some pictures will come for you to see.


20240802_195641.jpg
20240815_210630.jpg
20240815_210728.jpg
20240815_205637.jpg
20240902_203613.jpg
 

Back
Top Bottom