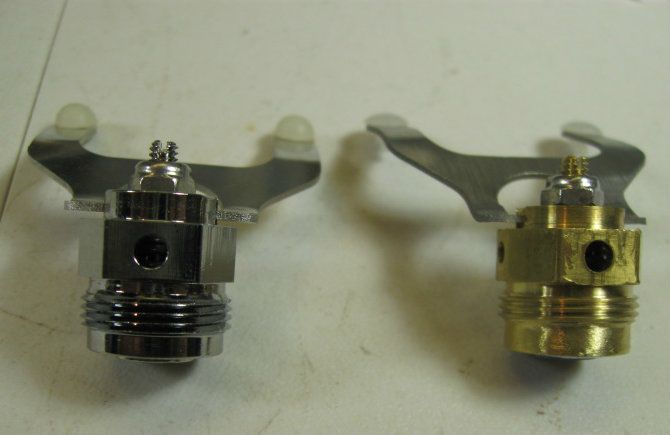
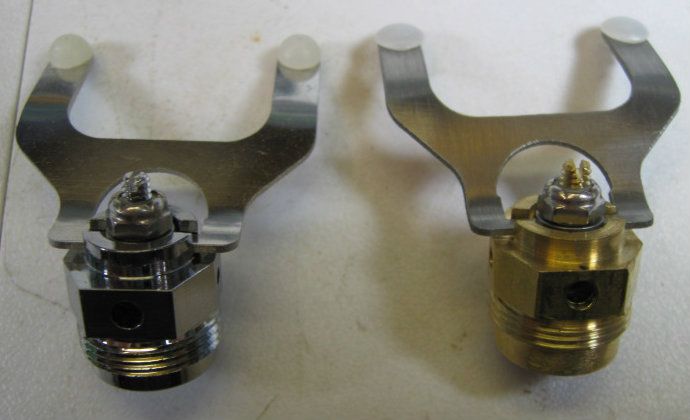
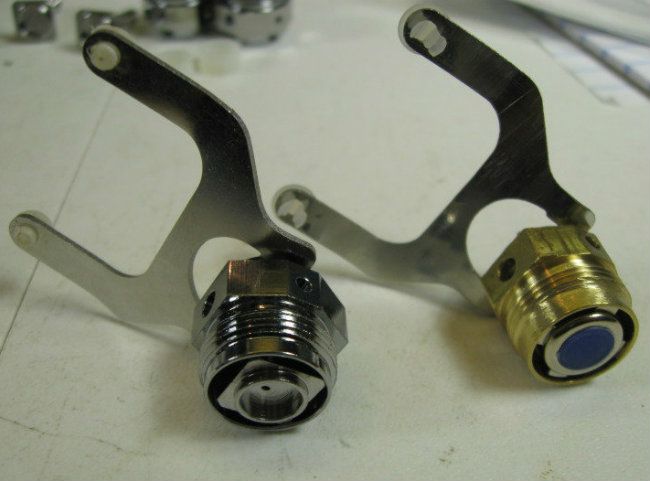
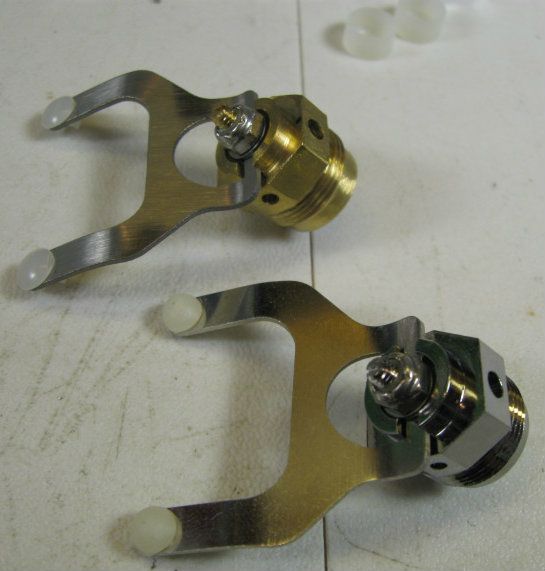
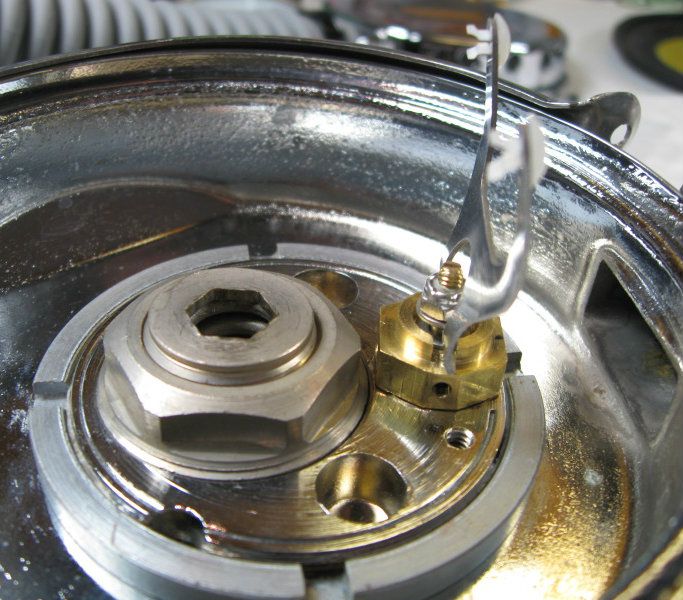
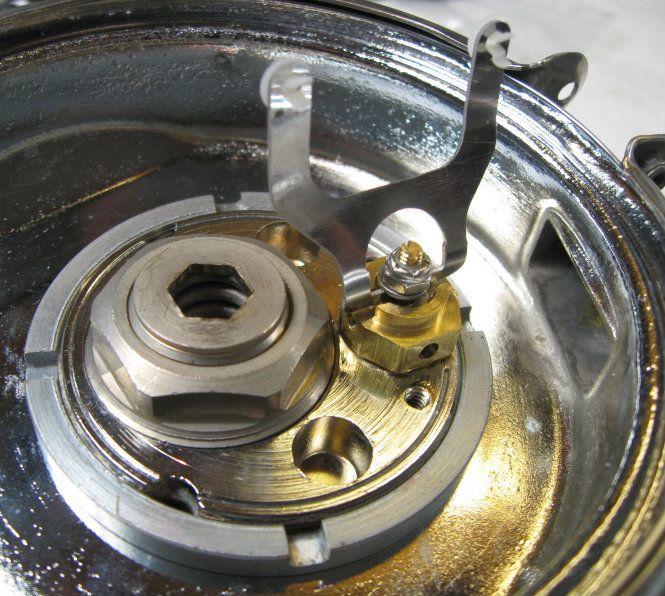
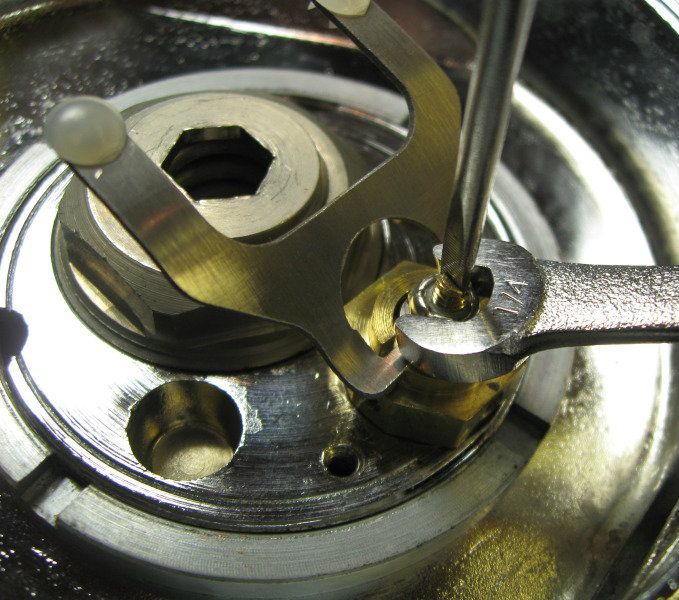
Here are some pictures of a new assembly next to a prototype.
The units are assembled before installation.
Installing the unit only requires screwing it in, making sure the venturi holes line up with the horn and locking the unit in place with the plastic washers and the screws on the side.
Here I am removing the prototype assemble. Notice that I lift the lever to retract the seat. This saves the seat from being cut by the volcano orifice. This is an important step when installing or removing the assembly.
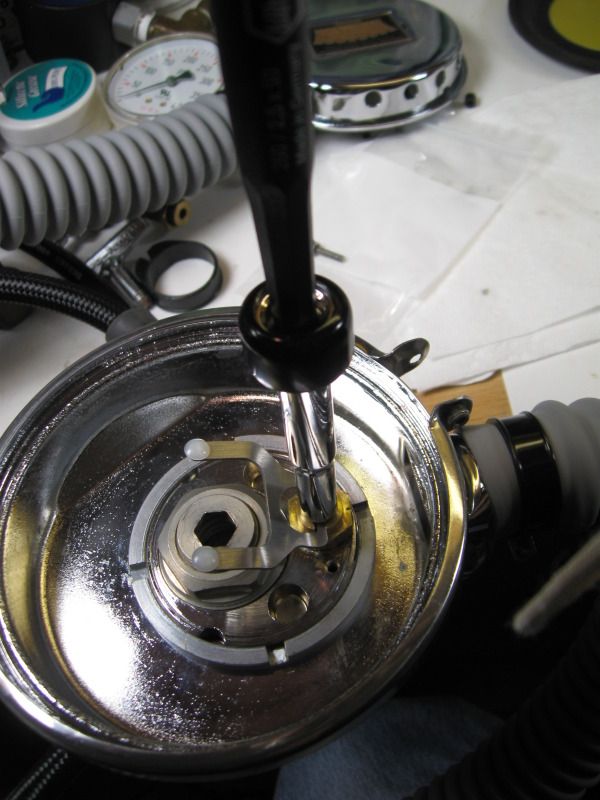
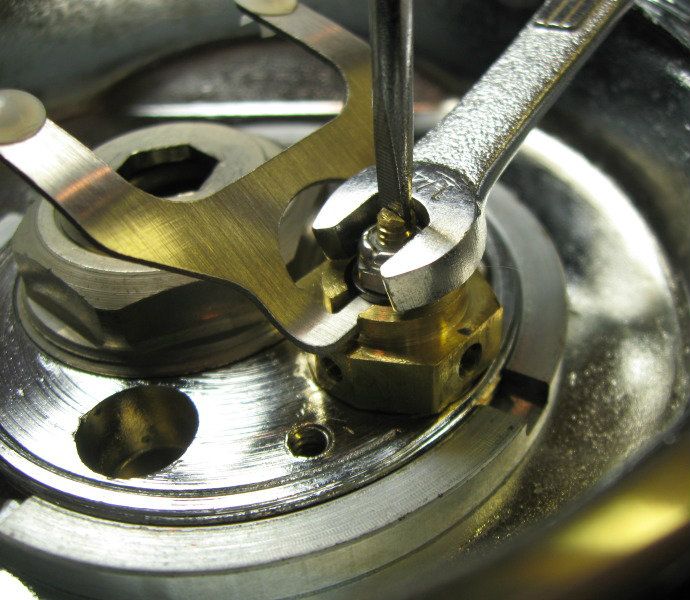
Here are two methods of adjusting the lever height.
The first method uses the same special tool used to adjust many Aqua Lung single hose second stages. As mentioned before, Herman is making a functionally identical tool for a very reasonable price.
The second method just uses a small flat blade screw drive to hold the seat carrier from turning and a 1/4 open end wrench to adjust the nylon-lock-nut.
Either method works. It is more of a personal preference.
Once the lever height is adjusted, you should never need to adjust it again unless you disassemble the unit. You can replace the soft seat without affection the lever height adjustment.
This unit is not sensitive to precise lever heights. The minute height change from installing a new seat is totally insignificant with this unit. You actually should adjusted with a small gap between the lever and the diaphragm (there is no need for the precise adjustments needed in a single hose second stage).
When it comes to normal servicing of the second stage all you have to do is the following (this assumes there is not excessive corrosion or any foreign matter):
Remove the unit.
Remove the seat.
Soak the entire assembly in vinegar for just a few minutes.
Rinse with lots of fresh water while moving the lever to make sure all surfaces are rinsed.
Dry with clean compressed air.
Install new seat.
Re-install unit on regulator.
Check lever height.
Check everything on regulator is functioning properly.
Go diving.

If it is necessary to disassemble the unit due to excessive corrosion, etc., the process is very easy and basically intuitive. The only item to notice is that the two washers are installed in the correct location and that the smooth rounded edge surface of both washers are facing the feet of the lever.
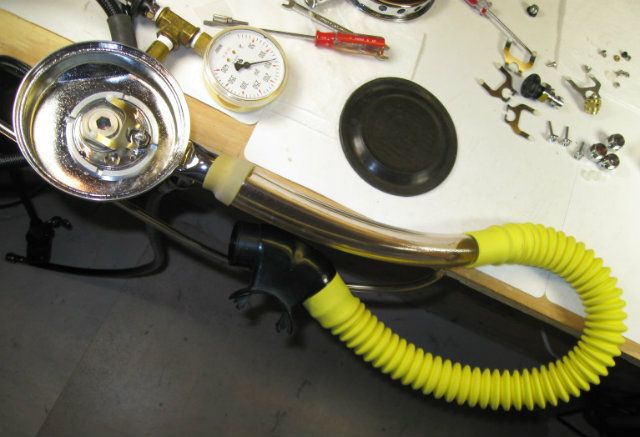
This picture is just of part of my regulator work (the rest is more of a mess). If you notice the clear tube is one of the places where I measure inhalation suction (I also measure it at the mouthpiece with a different set up). I use this set up to remove the variables introduced by the hose loop.
Very important to notice that there is a mouthpiece with a check valve that is open to ambient. This works to vent excess air flow when I am adjusting the venturi effect. This is very important to protect from over pressurization injuries.
You may also notice the IP gauge reads 130 psi. The regulator is mounted on the test bench outlet. The scuba tank air source is to the left of the bench.


