SSpiffy
Contributor
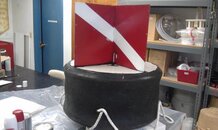
We have had a buoy/float moored above the deep dive site at the Mukilteo, WA T-Dock. A couple of months ago it sank - not a lot of floatation to start with and a massive mussel colony will do that. I decided to make one and installed it today. I used an old McCreary oval track slick I had on hand, so no steel belts to drill through.
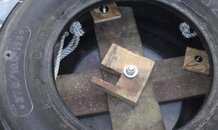
I constructed an internal load-bearing structure from pressure treated lumber from a planter I was demolishing. That center bolt is a large HDG eyebolt.
The top and bottom plates were made from a fiberglass shower surround that someone had tossed along the road near work.
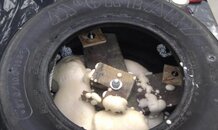
First pour of 2#/ft^3 A-B foam.
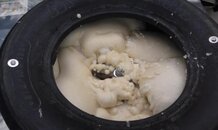
Halfway filled.
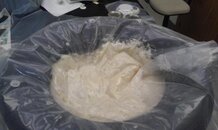
Coaxing foam into voids.
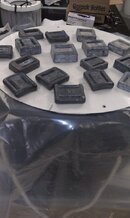
Final pour.
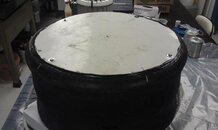
Top sealed on. The top and bottom plates are sealed with polysulfone caulk and bolted on.
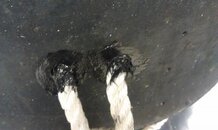
As are the handles. I got as much caulk as I could into the lay of the rope, but it will likely wick water anyway; no worries, A-B foam is closed cell.
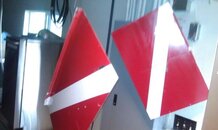
I made the sign from some stainless sheet I had lying around the garage. Reduce, Reuse and recycle!
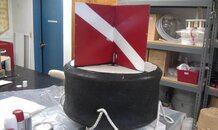
Here it is finished, before paint. The tube is a vent to allow air expansion due to temp changes.
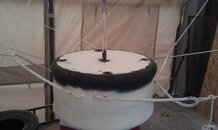
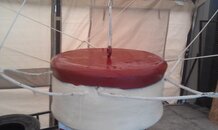
Here it is hanging upside down for paint. The white is Flex Seal Brite (As Seen On TV) I figured it would adhere to the rubber well and would be an interesting torture test for it. The red is anti-fouling paint to keep the growth at bay. The web of rope is keeping the handles out of the curing paint.

And here it is installed this morning. I reused the existing mooring system; the anchor is at about 130', there's a mid-water float about 80' above that, and the surface float is chained onto a sliding shackle on its line to compensate for the 15' tidal range.
It's been a fun project and hopefully will last a while. We'll see, I just made things up as I went along, using stuff I mostly had on hand. All in all I have about $165 into it, couldn't have bought one similar to it for anywhere near that.

I constructed an internal load-bearing structure from pressure treated lumber from a planter I was demolishing. That center bolt is a large HDG eyebolt.
The top and bottom plates were made from a fiberglass shower surround that someone had tossed along the road near work.

First pour of 2#/ft^3 A-B foam.

Halfway filled.

Coaxing foam into voids.

Final pour.

Top sealed on. The top and bottom plates are sealed with polysulfone caulk and bolted on.

As are the handles. I got as much caulk as I could into the lay of the rope, but it will likely wick water anyway; no worries, A-B foam is closed cell.

I made the sign from some stainless sheet I had lying around the garage. Reduce, Reuse and recycle!

Here it is finished, before paint. The tube is a vent to allow air expansion due to temp changes.


Here it is hanging upside down for paint. The white is Flex Seal Brite (As Seen On TV) I figured it would adhere to the rubber well and would be an interesting torture test for it. The red is anti-fouling paint to keep the growth at bay. The web of rope is keeping the handles out of the curing paint.

And here it is installed this morning. I reused the existing mooring system; the anchor is at about 130', there's a mid-water float about 80' above that, and the surface float is chained onto a sliding shackle on its line to compensate for the 15' tidal range.
It's been a fun project and hopefully will last a while. We'll see, I just made things up as I went along, using stuff I mostly had on hand. All in all I have about $165 into it, couldn't have bought one similar to it for anywhere near that.


