Morrison in cavern pic experiment 10/13/09

Please register or login

Welcome to ScubaBoard, the world's largest scuba diving community. Registration is not required to read the forums, but we encourage you to join. Joining has its benefits and enables you to participate in the discussions.

Benefits of registering include

  • Ability to post and comment on topics and discussions.
  • A Free photo gallery to share your dive photos with the world.
  • You can make this box go away

Joining is quick and easy. Log in or Register now!

We expect to try it a couple more times...tweaking it each time. We have many things to fix the next time we do it.

Nice shots!!! Now that you guys are on the right track, I bet with a little tweaking you could even produce even better pictures.
 
Morrisonflooded.jpg


MorrisonFlooded3.jpg


MorrisonFlooded2.jpg


MorrisonLadder.jpg


MorrisonGreenWater.jpg


MorrisonRope.jpg


TanicWater.jpg


DiveFlag.jpg


BillandTripod.jpg


Billandcamera.jpg
 
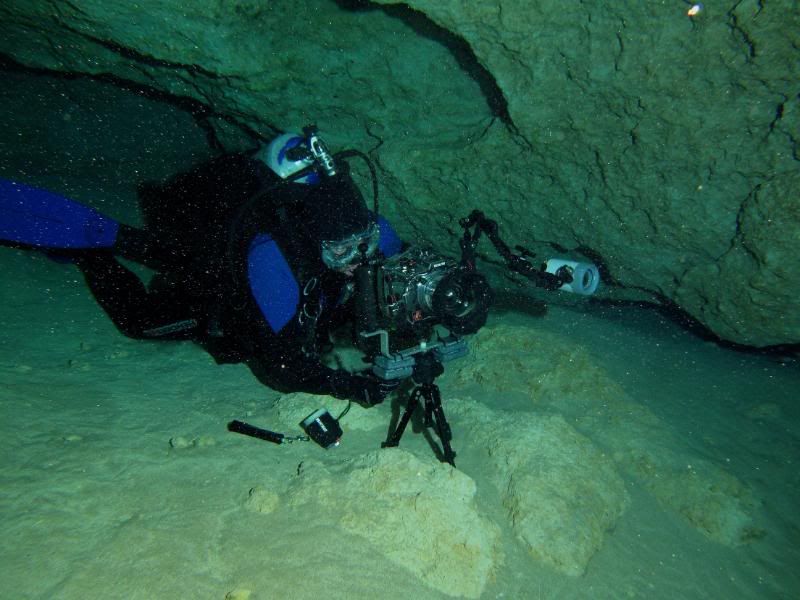
Thanks for writing that up Glen. One correction is that the camera had 8 lbs of lead attached - I felt every one of them (just call me the human lift bag :D).

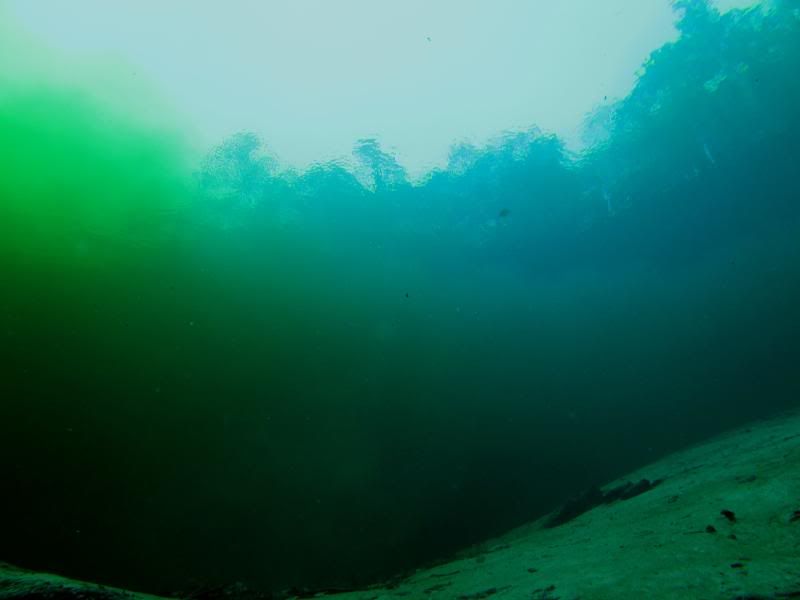
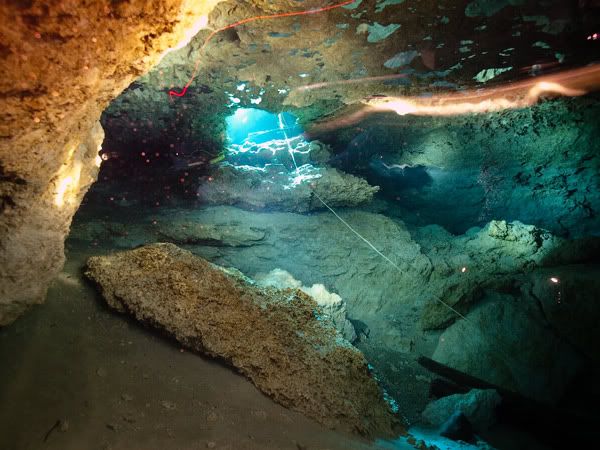
I would love to have taken some shots of the clear "window" above the basin but all the heavy gear and strobe flashing/swimming sucked way too much air from my tank. Besides, trying to hold that monster rig up would have given me a hernia - even under water :D.

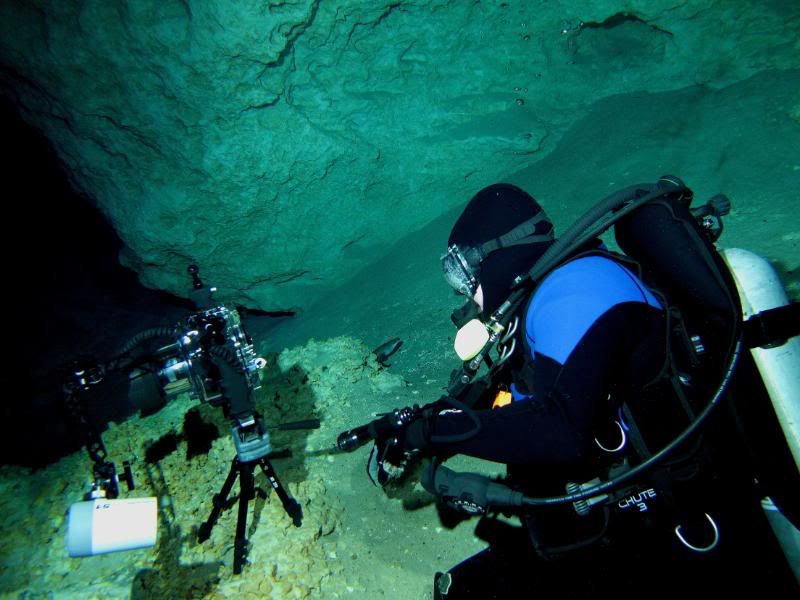
Some quick details about the photography side:

1. Shot some pics at f11 (best crispness for the lens on land) but they were way too dark. Had to switch to f4. We might be able to get by with f7.1 but that will take another experiment run.

2. I'm not sure if changing the f stop changed the hyperfocal distance that much but I will be doing some more OW work with f4 and f7.1 to see where their sweet spot is. The focus looks pretty good on these shots but if we can improve, so much the better.

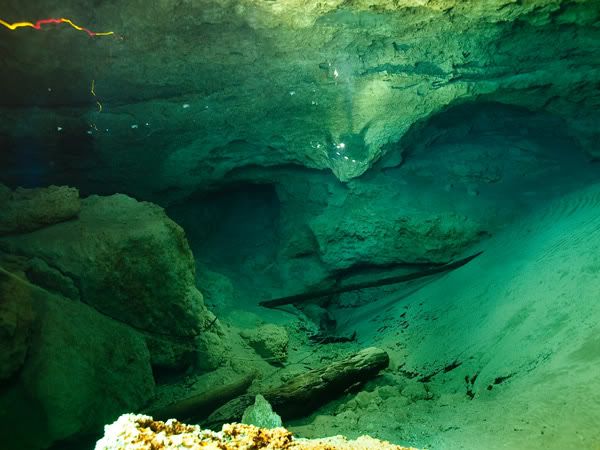
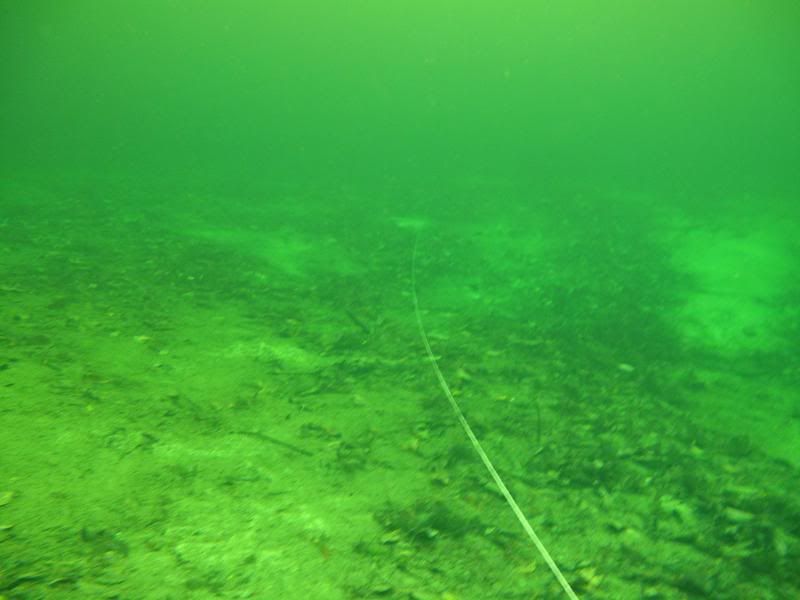
3. All lights must be turned out and the red indicator lights on the strobes covered. Any stray light shows up on the one minute shutter time. You can see trails and spots in most of the pictures.

4. When we do the real project we will need a couple teams of three divers to get the best light coverage and efficient use of time. We got may-be five shots per dive due to the noise reduction program on the camera taking so long. Logistics of getting the gear down and set up are more difficult and time consuming than I thought. It will probably take all day to get the project completed and the first run may be just practice for those who haven't done it yet. If two teams get two or three dives in, I think we will get some good coverage.

The last two usable shots are on that sandy hill. By the time these were done the backscatter was up a little:
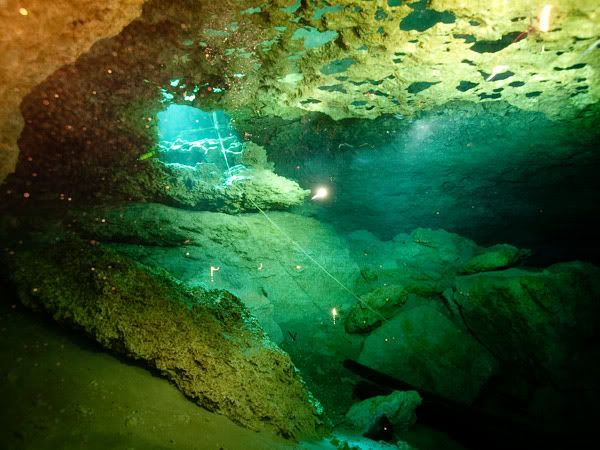
f45.jpg

f46.jpg
 
They look great though :)

I still think you need to buy a fisheye and a superdome for that rig :D Take in the whole cavern in one shot!
 
...I still think you need to buy a fisheye and a superdome for that rig :D Take in the whole cavern in one shot!

The collection box for donations is at the door :rofl3: .
 
So were the shots you posted from our first dive or second?? Seems getting the maximum amount of flashes in the cavern will be the key.
 
There was one from dive one and the rest from dive two. This is the one from dive one. I swam through the middle of the cavern with your camera not getting close to the walls. I like the moodiness and even lighting of the pic but it doesn't give the color that painting close to the walls gives.

f43.jpg
 
We probably need a person in the shots to give some perspective on how big that room is. If we light a diver up one time in a darkish area may-be they won't get washed out with other flashes painting the walls????

Any ideas???
 
Great work guys..
 
https://www.shearwater.com/products/teric/

Back
Top Bottom