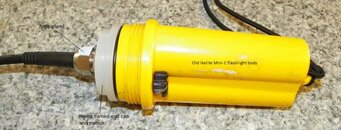
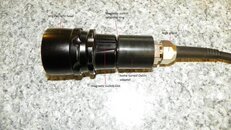
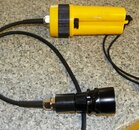
This project started as a flashlight repair and has quickly gotten out-of-hand and is evolving into a canister light project. I have the following parts on hand:
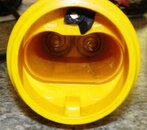
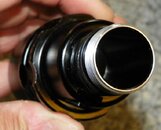
1. Dive light head, body, and tailcap:
2. Cree XL-M T6 emmitter on star
3. Heat sink for above
All from the original broken light http://www.linkdelight.com/DC080-200m-Underwater-Diving-CREE-XML-T6-LED-Torch-Flashlight.html
The driver board is toast. I have ordered a 18V 5W Cree Circuit Board for Flashlights (16.8mm*5.5mm) - Free Shipping - DealExtreme from DX, but understand it may take 2 months to arrive and I'm a bit impatient.
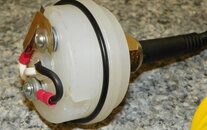
4. Ikelite 4-C dive light that the housing is in good condition
Mini C-Lite
5. Four 4xAA dive lights (180LM) that I can steal a driver board from
20m Underwater Diving CREE Q3 LED Torch Flashlight | Camping & Hiking | Sports & Outdoor | Linkdelight.com
6. Three 3xAA flashlights (150LM) that I can steal a driver board from
Amazon.com: Techlite Lumen Master 150 Lumens High-Intensity CREE XPE L.E.D. Tactical Flashlight, 3 Pack: Home Improvement
Parts I would need:
1. Batteries. I'm looking at these for ease of use and recharging safety.
NiMH Rechargeable Cell: C Size 1.2V 5000mAh Button top (1pc)
2. 16/2 cable
3. cable glands
Plan:
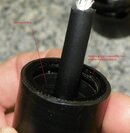
1. Replace the Ikelite lens with a high-density plastic disk drilled and fitted with a cable gland.
2. Solder the cable to the lamp terminals
3. Fabricate a tailcap for the light head, install a cable gland, and solder the cable to the driver board
OR
3a. install a cable gland into the existing tailcap and do the above. This may be easier, but definitely a less desirable solution.
4. Steal a driver board from either of the lights above. I'd prefer to dismantle the non-diving one (3xAAA), but the 4xAA might be a better choice. This is where I am lacking in knowledge.
5. Solder and assemble the driver board, heat sink, and XL-M emitter
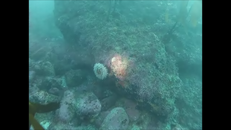
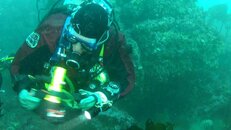
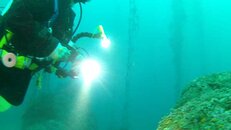
My goal is to use this as my video light for my GoPro. Dives last at most 70 min. I can leave the reflector out of the light head for a flood pattern, and adjust the depth within the head for proper spread. The canister can clip to the bottom of my camera tray with the light head on a flexible arm.
If I'm ever so inclined I can replace the reflector and use it as a regular can light.
This whole things seems too simple. Am I missing anything important?
PS. This is also posted on CPF.


