Art Challacombe
Registered
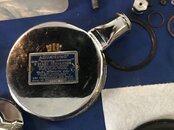
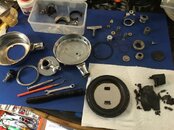
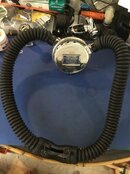
Finally getting around to servicing my DAAM. I got it on EBay for a decent price and it looked to be in okay shape. So far, I’ve dissembled it and will be giving it a vinegar and water bath. No real surprises so far. Removing the clips was a PITA, so I’ll be replacing them with a retaining clamp.
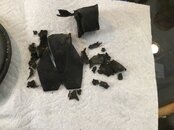
Unfortunately, the duckbill was cemented into the horn, so I took out the pieces that I could get to and then let the can soak overnight in soapy water. I then scraped out the rest of hardened neoprene with a plastic knife and finished it off with a denatured alcohol cleaning.
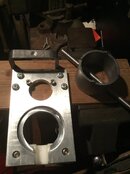
In my opinion, having the right tools essential to a smooth rebuild. This is where being cheap and trying to cut corners to save a few bucks can lead to frustration and worse, breaking important parts and often irreplaceable parts. The retaining ring was on really tight and even with the proper tools and a good vise, I had to tap the retaining ring tool with a plastic hammer in order to get it loose.
Also really important to a successful rebuild of a vintage regulator is having a service manual and reading all the repair tips by the knowledgeable folks on the diving forums. This knowledge is invaluable and has helped me immeasurably.
More to follow.
Unfortunately, the duckbill was cemented into the horn, so I took out the pieces that I could get to and then let the can soak overnight in soapy water. I then scraped out the rest of hardened neoprene with a plastic knife and finished it off with a denatured alcohol cleaning.
In my opinion, having the right tools essential to a smooth rebuild. This is where being cheap and trying to cut corners to save a few bucks can lead to frustration and worse, breaking important parts and often irreplaceable parts. The retaining ring was on really tight and even with the proper tools and a good vise, I had to tap the retaining ring tool with a plastic hammer in order to get it loose.
Also really important to a successful rebuild of a vintage regulator is having a service manual and reading all the repair tips by the knowledgeable folks on the diving forums. This knowledge is invaluable and has helped me immeasurably.
More to follow.