Sunto Companion problems ...

Please register or login

Welcome to ScubaBoard, the world's largest scuba diving community. Registration is not required to read the forums, but we encourage you to join. Joining has its benefits and enables you to participate in the discussions.

Benefits of registering include

  • Ability to post and comment on topics and discussions.
  • A Free photo gallery to share your dive photos with the world.
  • You can make this box go away

Joining is quick and easy. Log in or Register now!

davyo

New
Messages
1
Reaction score
0
I looked but did not see anything listed about this .. so here goes ..:D

suunto.jpg


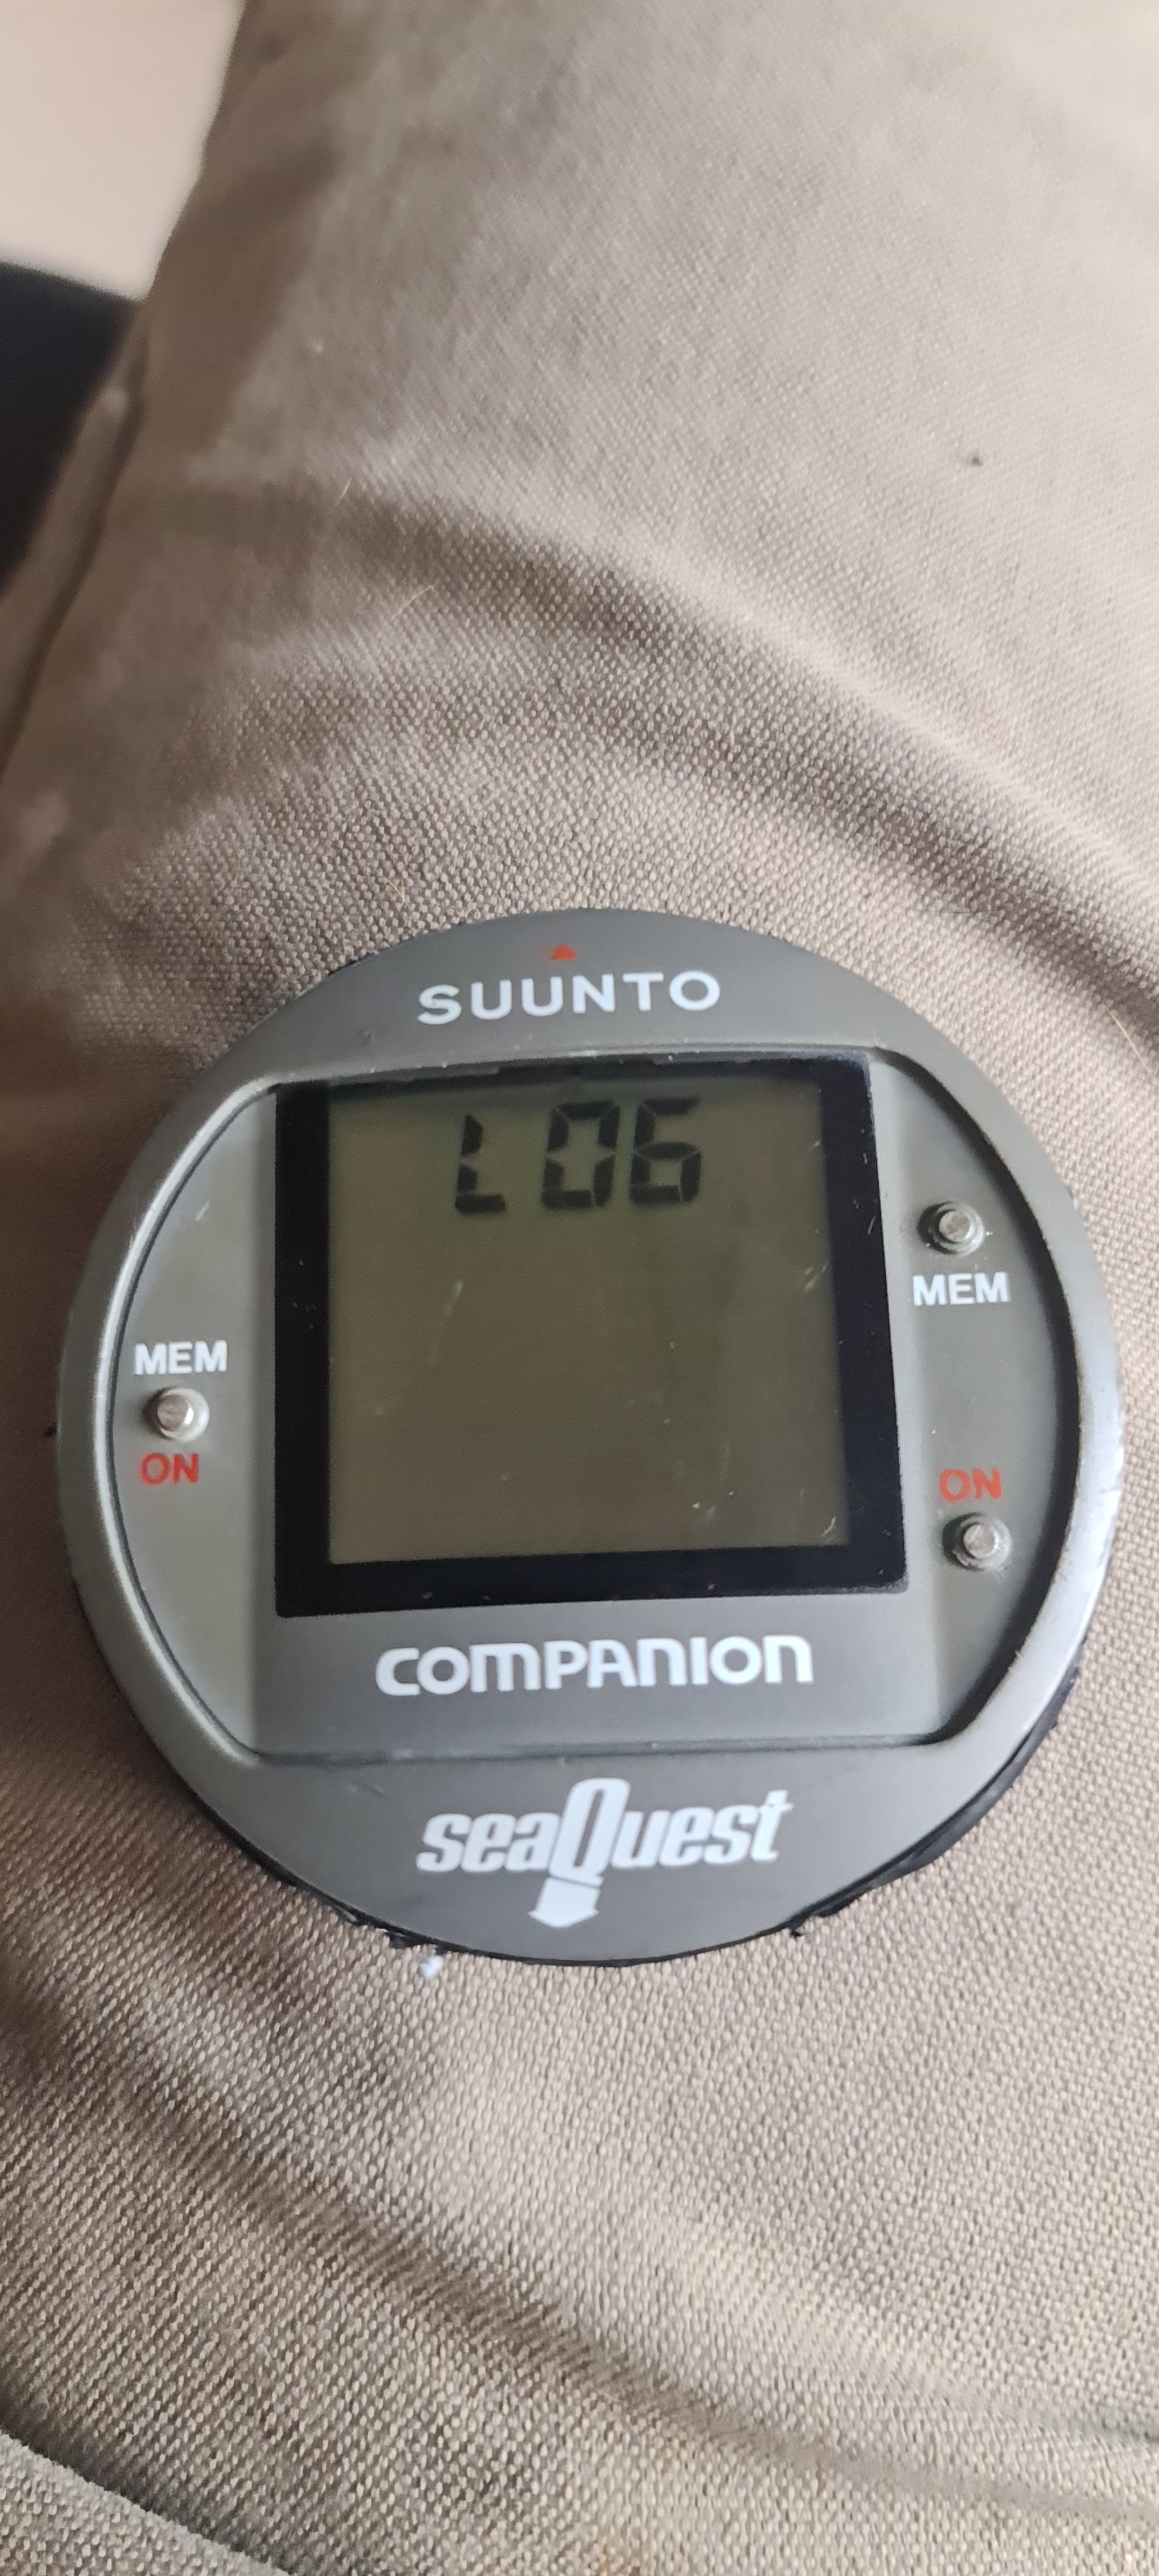
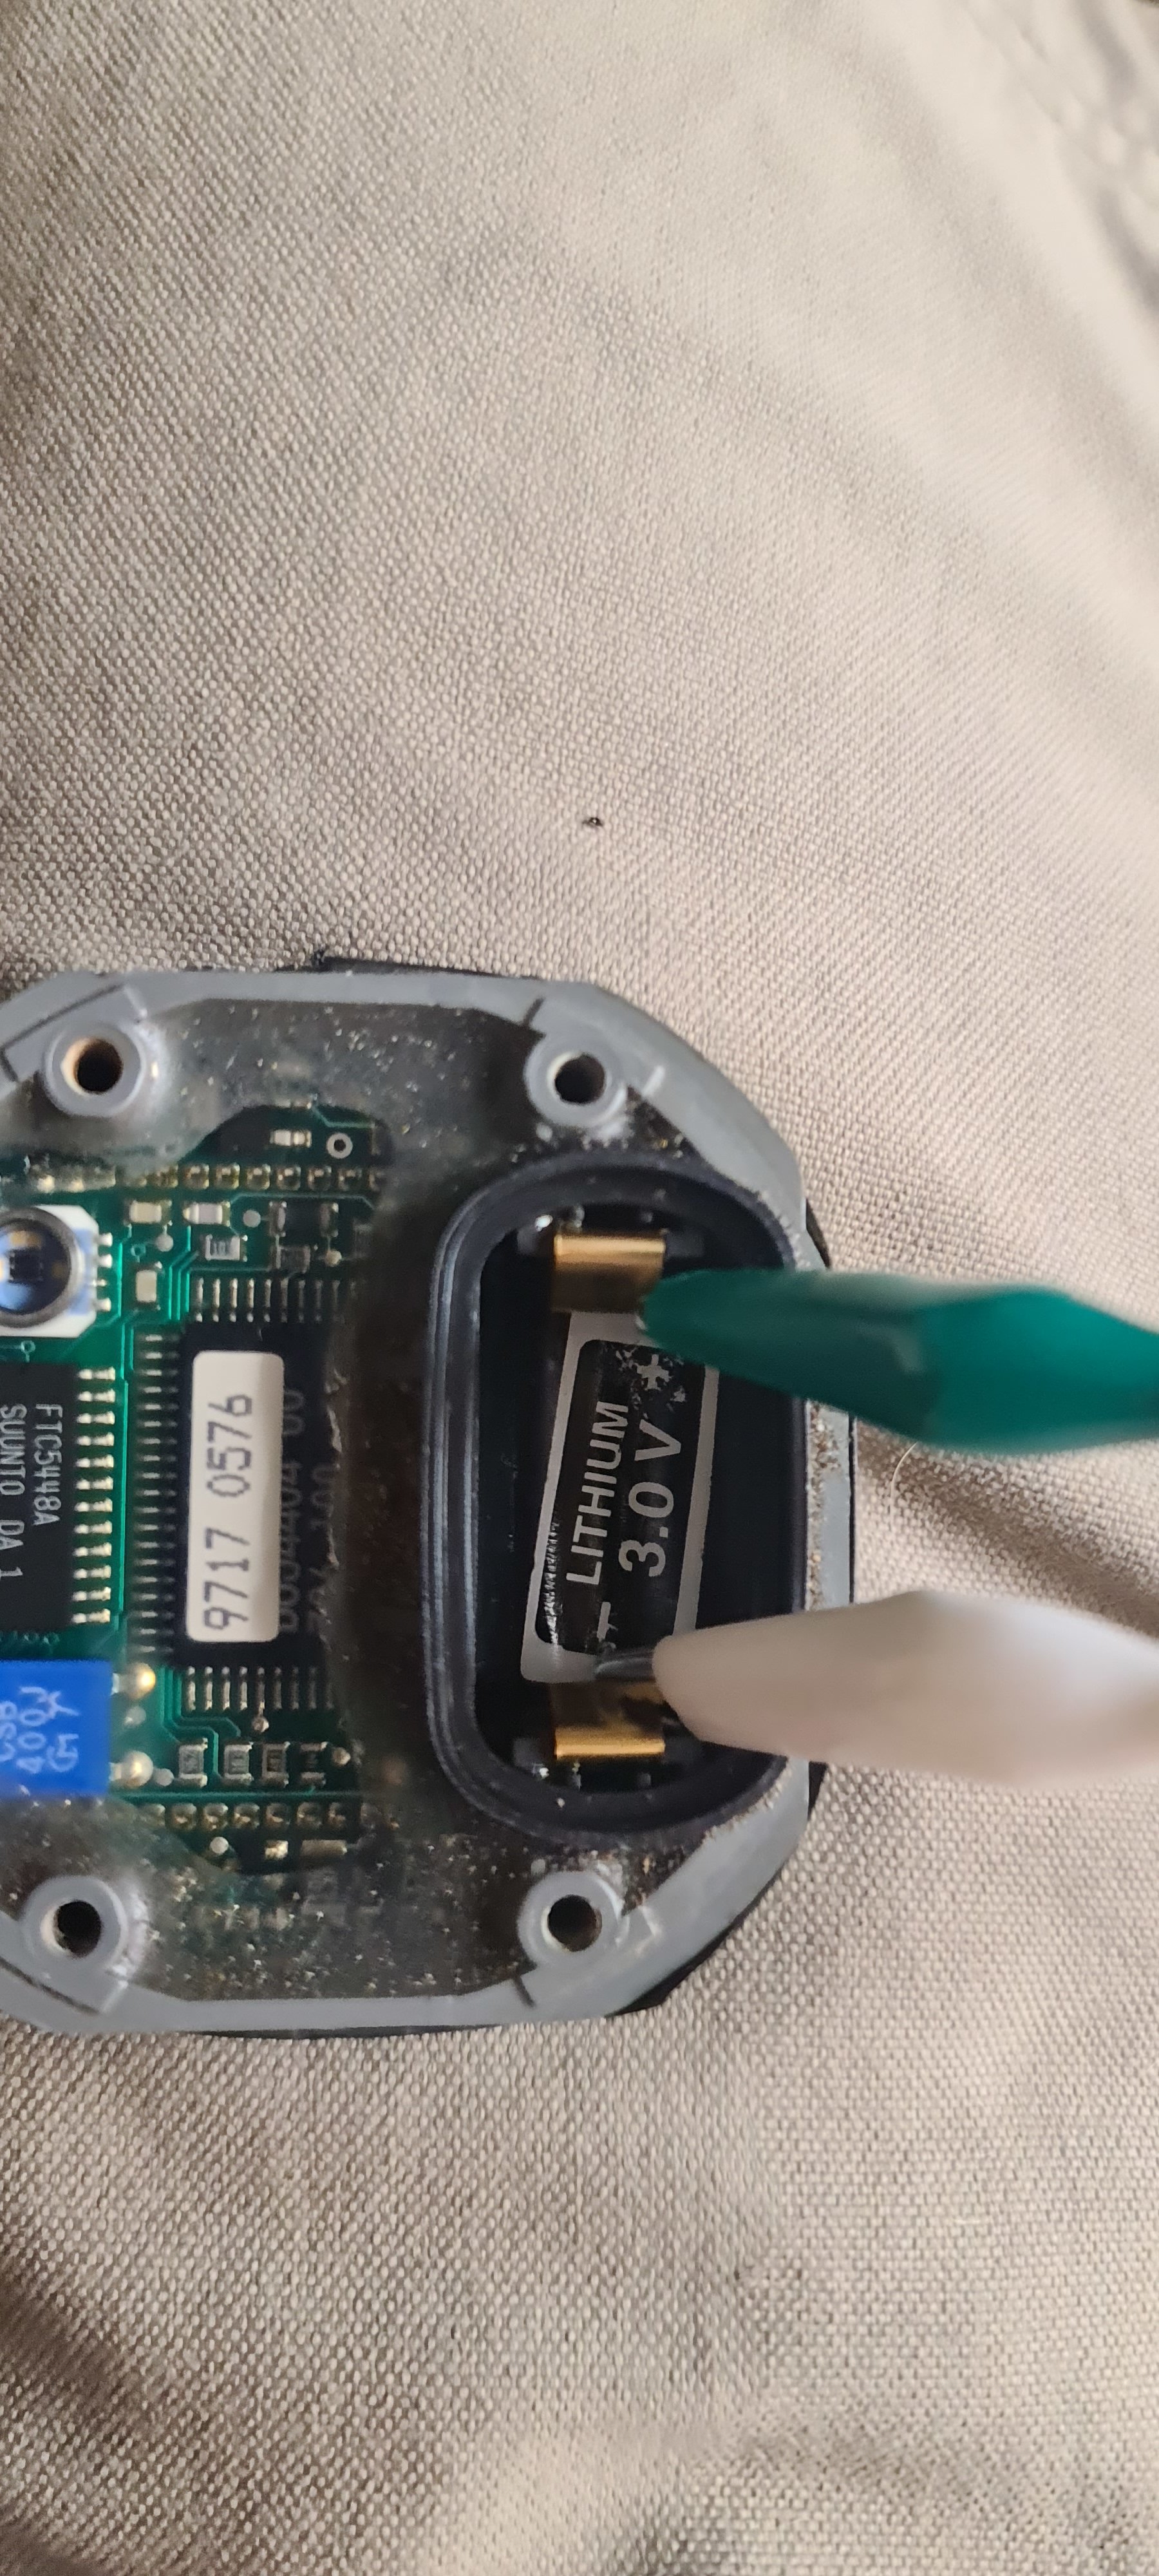
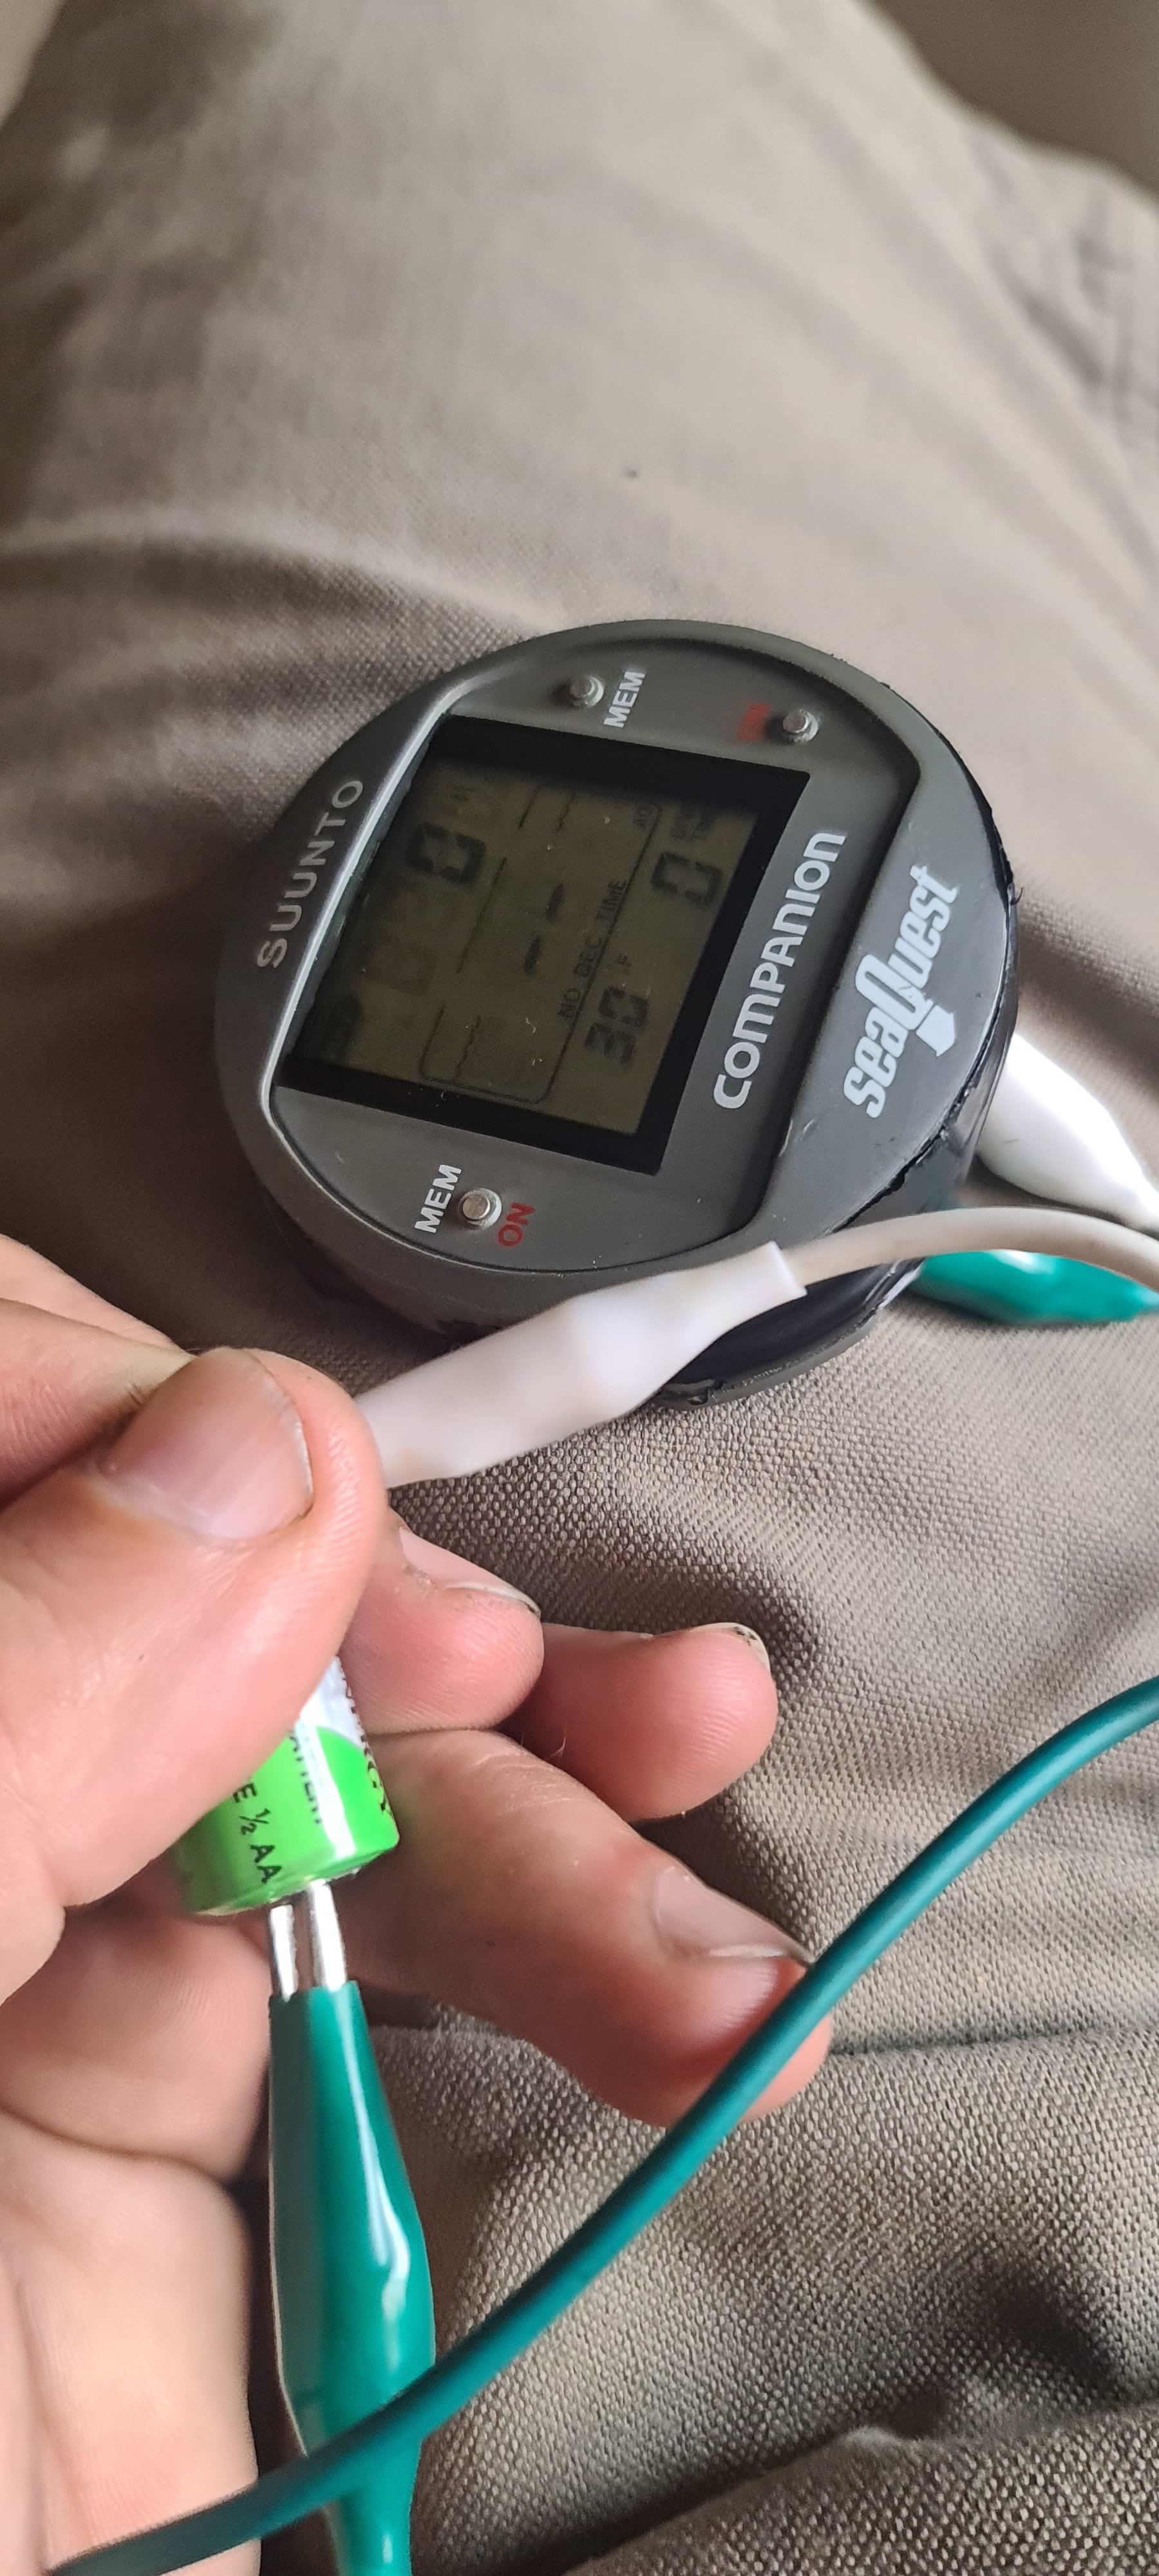
I have a SUUNTO Companion I am trying to get running ... Okay okay .. I know its an oldy .. but I changed the battery on this thing (factory only .. but its only an o-ring issue guys .. so I thought!:shakehead ) and now I am getting "LOG" only on the screen .. so when I talked to Suunto they said it has lost its calibration due to battery change ???? and would need to go to the factory in FINLAND (for gosh sakes) :11: to be "recalibrated" for 100 Euros! ... anybody know of another reasonable fix for this other than buying another computer (NOT a SUUNTO for sure) Is there something I can do here ... or ... a place here in the US to send it to?

Anything ... but having to deal with the redtape (& time & hassle) to send this thing to &*^%$ FINLAND!:no

Any ideas guys? Please help if you can .. it would be appreciated! :popcorn:

Thanx!

Dave
 
Did you ever get your dive computer to work? My battery compartment flooded and started to corrode, so I pulled the battery out and cleaned it up, now I get the same thing.

Bob
 
I just did it!
I tried a lot of things and finally succeeded.

You will need two batteries and some wiring. Battery #1 is the new one you are going to place on the computer. Battery #2 doesn´t have to be new but must be able to power the computer. It will be disposed of after the procedure.

1. Solder some wires to positive and negative on the computer poles and have them ready to connect to Battery #2 (I soldered the negative to the battery, so it would be easy just to hold the positive when needed later)
2. Connect some gator wire to the positive and negative
2. Connect the positive gator to battery #1
3. Tap with the other gator wire (negative) very rapidly (more than 5 times per second) and several times (around 20 or 30 times). This is the secret!
4. Turn on the computer as usual, and it will no longer show the "LOG" lock mode !!!
5. If it doesn´t work the first time, try again. (It took me 3 days of tryouts to succeed with the procedure)
6. Now connect Battery #2. At this time, you will have two batteries connected in parallel. Don´t worry, It won't hurt the companion. The computer must be still working on normal mode at this stage.
7. Disconnect both gator wires from the computer and from battery #1. Because you have Battery #2 feeding the computer, it must remain powered and on normal mode (not locked on LOG). If you can´t manage to maintain the computer powered, it will return to LOG lock mode, and you will have to start tapping again (this can be frustrating, that is why I decided to solder thin cables and manage to maintain the computer powered very firmly during the procedure).
8. While the computer is in normal mode and powered by Battery #2 (through the thin wires, one soldered to the negative pole), insert the Battery #1 into its normal and intended place into the companion battery hatch.
9. Cut the thin wires soldered to the poles on the computer (cut very close to the soldered point, so you won´t have any wires remaining).
10. Check that the computer remains on, and on normal mode
11. Close the battery hatch (don´t forget the clean and lubed o-ring)
12. Place the cover screws back (tight fit, not too hard).
Done!

I just did it today, I haven´t tried it on an actual dive. The temperature may be reading not well. I will take it with me the next dive and compare it with another computer to confirm that it is working fine, before regaining trust in it.


Back
Top Bottom