New Rig Gets Wet

Please register or login

Welcome to ScubaBoard, the world's largest scuba diving community. Registration is not required to read the forums, but we encourage you to join. Joining has its benefits and enables you to participate in the discussions.

Benefits of registering include

  • Ability to post and comment on topics and discussions.
  • A Free photo gallery to share your dive photos with the world.
  • You can make this box go away

Joining is quick and easy. Log in or Register now!

RTW

Contributor
Messages
116
Reaction score
0
Location
North Alabama, USA
# of dives
100 - 199
I Finally got to try out the new camera off the coast of Panama City Beach FL this past weekend. Besides the water being green and fast moving, the dives were good.
I had more bad shots than good, but I'm sure that will improve with practice.

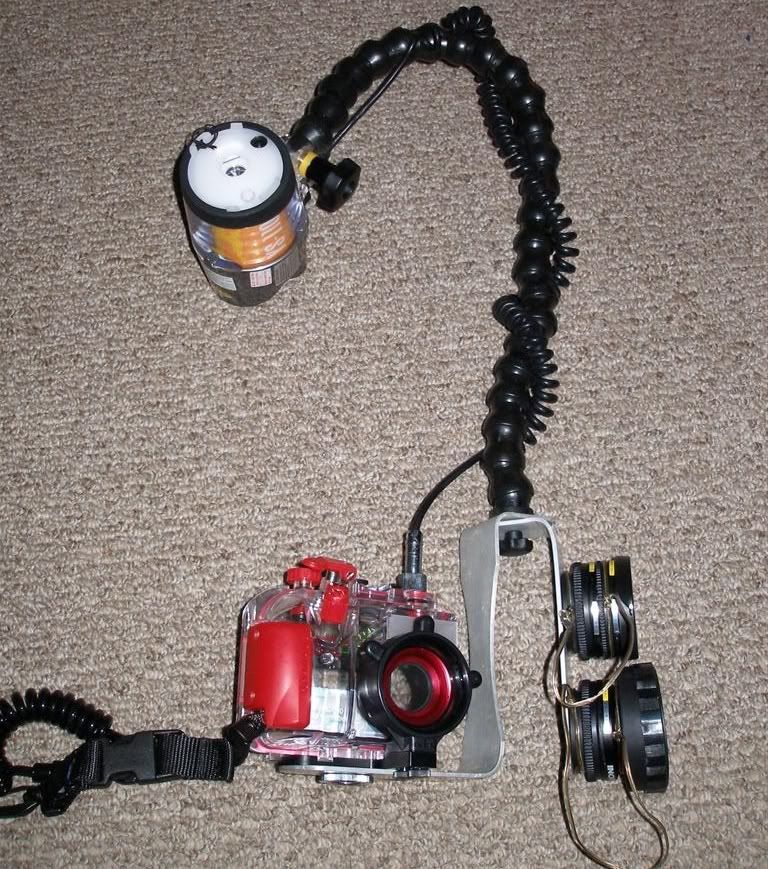
Olympus SP-350 in an Olympus housing
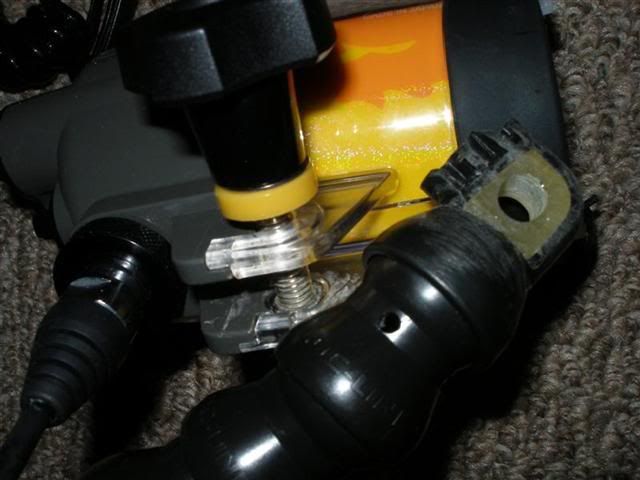
Divervision hotshoe converter and sync cable
1x Sea & Sea YS-110
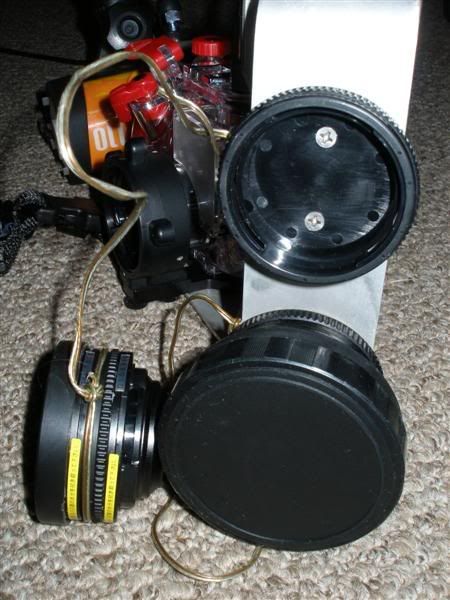
Inon 105-AD wide angle
2x stacked Inon 165-AD macro
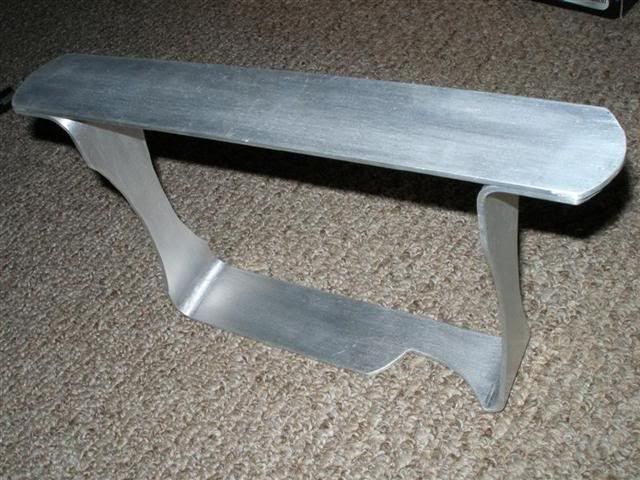
Homemade aluminum tray, lens caddies, and Loc-Line arm

Overall I'm extremely happy with this setup, andI can't wait to see what kind of shots I can get in Bonaire this September.

Thanks for all the helpful advice and inspirational photos.

(No post processing with the exception of the 2nd being rotated and all reduced in size)
P6101917.jpg


P6081780Custom.jpg


P6081776Custom.jpg


P6081803Custom.jpg


P6081815Custom.jpg


P6081822Custom.jpg


P6081838Custom.jpg


P6081854Custom.jpg


P6081879Custom.jpg


P6081899Custom.jpg
 
I really like your camera and especially your home grown handle etc. Nice shots too with that Inon 105AD WA.

If you want to paint it try the truck bed liner in a spray can stuff from any auto parts or even Wally World. It seems to be durable and leaves a nice textured finish--just a thought.

N
 
I really like your camera and especially your home grown handle etc.N

Thanks. The ergonomics were good, but it's a bit too negative. I'm still contemplating a way to add buoyancy to get it closer to neutral.

If you want to paint it try the truck bed liner in a spray can stuff from any auto parts or even Wally World. It seems to be durable and leaves a nice textured finish--just a thought.N

Good idea, though I'll probably have it powder coated eventually as my stepson has full access to the powder coating equipment where he works.
 
very nice rig! how did you attach cables to the lenses?

Thanks. Not only did going the DIY route save me money, but it was also enjoyable and rewarding.

Those are actually temporary-tethers made of tied speaker wire. :11:
Tethers will eventually be stainless steel fishing leader with swivels and clips.
Lens caddies are simply rear lens caps.
P6111930Medium.jpg


Arm-to-tray attachment:
Threaded brass insert heated and melted into Loc-Line fixed mount base
Arm secured to tray with a stainless steel thumb screw
P6111933.jpg


Strobe-to-arm attachment:
Loc-Line mounting elbow partially filled with 2-part epoxy and tooled to fit strobe
P6111931.jpg


Here's my incomplete two-strobe version:
The notch is for my right hand to better grip the housing and access controls.
Lenses will mount to top bar.
P6111936.jpg
 

Back
Top Bottom