OP
GioPuma
Registered
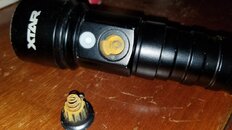
I used very small and thin pliers so that I could "lock" them into the little semi-circular dents of the rings.
It did not require a lot of torque to make the ring come loose. The pliers are part of a set of tools for electronics.
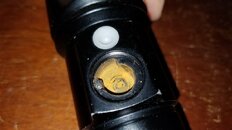
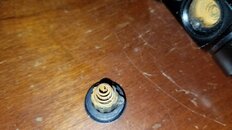
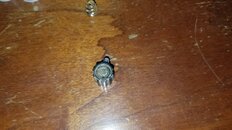
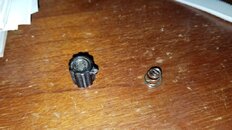
Once the ring was off the whole button assembly came loose. It is very simple, it simply consists of the ring, a spring and the button itself and I could see no sealing surface toward the inside of the light.
In the process I ended up scratching the ring very slightly but c'mon this is a dive light, if we are afraid to scratch it we might as well keep it dry
It did not require a lot of torque to make the ring come loose. The pliers are part of a set of tools for electronics.
Once the ring was off the whole button assembly came loose. It is very simple, it simply consists of the ring, a spring and the button itself and I could see no sealing surface toward the inside of the light.
In the process I ended up scratching the ring very slightly but c'mon this is a dive light, if we are afraid to scratch it we might as well keep it dry
")